
Kimchi - a delicious probiotic with a kick!
- Jan Taube

- Jun 17, 2020
- 6 min read
Updated: May 20, 2021
Kimchi is a spicy fermented dish originating from Korea, which can be made out of infinite veggie and fruit variations. It's basically a jazzed up version of sauerkraut; pickled cabbage that is well known in Eastern Europe. However, the similarity ends there, as kimchi is so versatile it is only limited by one’s own creativity. So it’s time to think outside the box, and try out different ingredients. The recipe below makes a fresh, slightly hot, pungent and flavourful ferment, which you can then adapt and make your own.

Ingredients:
1 medium Chinese leaf or Savoy Cabbage (around 500g)
50g coarse salt, preferably rock or pickling salt (the optional use of fine salt will result in a more salty kimchi)
1 medium sized daikon radish (around 300g), optionally substitute with white turnip, parsnips or just use more cabbage - maybe you have a spare one lying in the fridge that's almost finished, its core or all of it will do the job just fine)
1 ripe pear (optionally substitute with apple)
1 small onion (100g after peeling), roughly chopped
7.5cm (3 inches or 55g) fresh root ginger, roughly chopped
5 garlic cloves, peeled and roughly chopped
40g Korean red pepper powder (or 20-30g of other mild to medium hot chilli flakes)
2 tsp vegan Worcestershire sauce (substitute with tamari or soy sauce (just so you are aware, the latter contains gluten)
5 - 7 spring onions, finely chopped
Equipment:
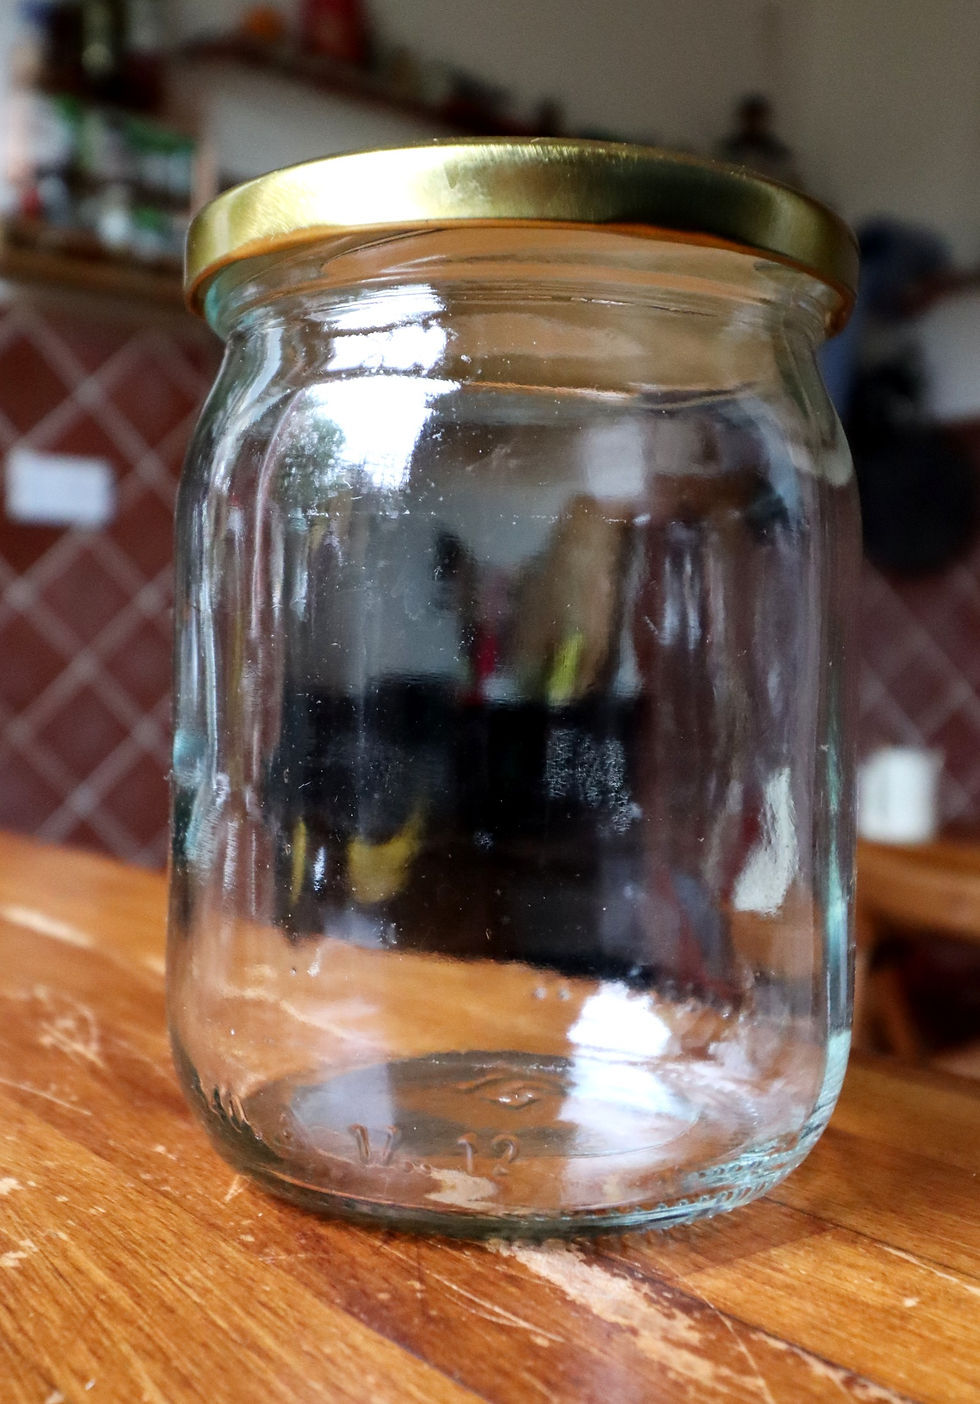
1 litre preserving jar or ceramic water crock pot
1 large, preferably shallow bowl
Food processor or a small bowl with a hand blender (if you don’t have access to either, you can just use a grater or chop your ingredients finely)
Chopping board
Chef's knife
Preparation time: 45 minutes plus a few hours in between stage 1 & 2.
Fermentation time: 1-2 weeks
Photo below shows a variation I made out of stinging nettles - for this recipe go to the bottom of the page.

Before I start guiding you through the recipe steps, I would like to explain the whole process well as otherwise, without prior understanding, it may seem quite complicated, especially if this is your first fermentation. In my first chef de partie job at a restaurant, I was always a little nervous about preparing kimchi, and generally avoided it if I could.It is not uncommon to be scared of new things in the kitchen, but kimchi is really simple once you understand the process. You have a couple of things going on in here that are the main principles of any traditional pickling technique:
First, you are softening your main ingredient (here cabbage leaves) with salt, or in some recipes salt solution (brine), for a few hours or overnight. This is when the fermentation process starts, but afterwards you will discard the salty water and keep your rinsed vegetables.
The second step is the long fermentation process of storing the cabbage (or whatever you are using) in a jar or pot along with any extra flavours. These can often include ingredients such as onions, garlic, ginger and spices.
As long as you stick to these two steps you can basically improvise with your favourite vegetables and flavours.
Method:

Cut the whole cabbage into quarters or six pieces, keeping the leaves attached which will allow you to distribute the salt well without it falling on the bottom of the bowl. Cutting or pulling the leaves apart is optional but will work well too.
Sprinkle the cabbage with salt, making sure that all of the leaves are more or less covered, then leave at room temperature for 2-4 hours.
Check on the cabbage after 2 hours as it should have released water and became soft by now. Keep for up to 2 more hours longer if it still feels tough which would be due to the salt that instead of covering the cabbage has fallen to the bottom of the mixing bowl.
Squeeze the water out of the leaves and set aside in large bowl.
In a food processor or using a hand blender, purée the rest of the ingredients (apart from spring onions) into a smooth paste.
Now add the purée (leaving about two tablespoons aside) and spring onions to the cabbage leaves and stir to mix together.
Pack the seasoned cabbage into your fermenting jar or a crock pot and press down to release trapped air.
Spread the remaining 2 tbsps of paste on the surface of the cabbage.
Store by following the instructions below depending on your chosen container:
Screw top jar: screw the lid tightly then loosen it again by one-eighth of a 360° turn.

Clip lock jar - these jars originally comes with a rubber seal around its lid. Remove the seal completely and close the lid allowing some air to escape.

Crock pot: place the lid on top and add water to the channel on its edges (this creates a seal keeping the air out while allowing gasses to escape).
10. Place kimchi out of direct sunlight, and allow it 1 to 2 weeks to ferment. I keep mine on the corner of the kitchen floor where the temperature is low. After the initial fermentation period, kimchi is ready to consume. Refrigerate and store for several months (flavours will continue to slowly develop even when stored in the fridge).


Tips:
Check your ferment every couple of days to see if there is no mould showing on the top of it. If it appears it must have been due to the fact the cabbage was not covered with the spicy purée and got exposed to the air. Take out the mouldy part (and a tiny bit more), discard then make sure again that the cabbage is well covered this time. If there isn't enough of your spicy mix for you to use, making a 3% brine and pouring it over until covered will solve the issue. just dissolve 3g of salt in 100ml of water and add as much as you need to cover your ferment. Close the lid and check again after couple of days. If mould is keeping on appearing discard the batch.
If you are using a crock pot make sure there is ALWAYS water in the channel as otherwise your kimchi may get mouldy (yes, it did happen to me).
Most of the time, you might find it best to roughly chop your kimchi before serving in your chosen dish. It goes amazing with (in, or on the side?) noodle-based stir fries, or placed on top of bread with my smokey hummus, or just serve it as a healthy and punchy side dish to any cooked meal.
Traditionally, kimchi is prepared from the seasonal ingredients available in that specific area. Try using different vegetables like pak choi, courgettes, aubergines or stinging nettles (for a specific recipe for stinging nettle kimchi, just scroll down).
I highly recommend getting inventive and trying different ingredients and combinations. Every time I prepare my kimchi I try new flavours. Last time I used dried chipotle chillies to add a new depth of smoked flavour and the result was really quite interesting.
Kimchi benefits from a lower fermentation temperature (below 27°C) and at least a couple of weeks of ageing. You may find it good to eat after just five days but the flavours need more time to develop - especially if you are using tougher types of cabbage - it will get softer and soak in more flavours when left for much longer. If you worry it will get mouldy, transfer it to the fridge and it will be still improve with time.

Nettle Kimchi
This variation of the original recipe will need a slightly different preparation technique due to the lower water content of nettles, and to protect yourself from getting stung of course!
Method:
You will need 50g of salt, like in the recipe above, 2 litres of water and 300g of prepared nettles. This means that you are probably looking to gather around 1-1.5kg of nettles to give you 300g once prepared. Also, because they contain less water than cabbage leaves you will only need 300g not 500g. The rest of the ingredients and spices are exactly the same as in the other kimchi recipe above - unless you are planning to experiment a bit.
When collecting and preparing the nettles, wear rubber gloves or something similar to protect yourself from being stung, and bring a pair of scissors or gardening secateurs. You will only be using the first 3 top rows of the leaves attached to the stem. When preparing the nettles, cut off the leaves and discard the stem as it hasn't got much flavour and wouldn't even be that good in soup or stock.
In a large bowl, combine the brine ingredients (water and salt) and stir to dissolve the salt.
Rinse the nettles in cold water then immerse in the brine solution. Use a plate as a weight to keep the nettles submerged under the water and leave at room temperature for 6-8 hours.
Using a colander set over a large bowl, drain the nettles reserving the liquid. Be careful, as sometimes they may still sting (they didn't in my case).
The nettles will clump together so take this whole clump and roll it up to cut crosswise into 2 inch pieces and put it in a large bowl.
Now repeat steps 4, 5 and 6 once more.
Afterwards, combine your nettle leaves with the spice mixture, remembering to save 2 tablespoons (see the original recipe above for how to make this), place them in your mason jar or crock pot and spread the remaining paste on top of the nettles.
If your kimchi looks a bit dry this is the moment when you add your reserved brine. You must make sure all the leaves are submerged as otherwise you may find mould growing on the top (mould will not grow underneath the water surface but over it, the and food humid environment are perfect conditions for it to start)
For instructions on how to store and how long to ferment, please scroll up to see the original recipe above and read steps 9 and 10.


Comments